Process And Manipulate Images In Node.js With Sharp
March 18, 2024 by Andreas Wik
If you need a way to process images with Node.js, then Sharp is a fantastic library that helps you to do just that. It has quite a wide range of operations available, and using it is very straightforward.
I assume you have Node.js and NPM installed on your machine and a terminal open.
Install Sharp
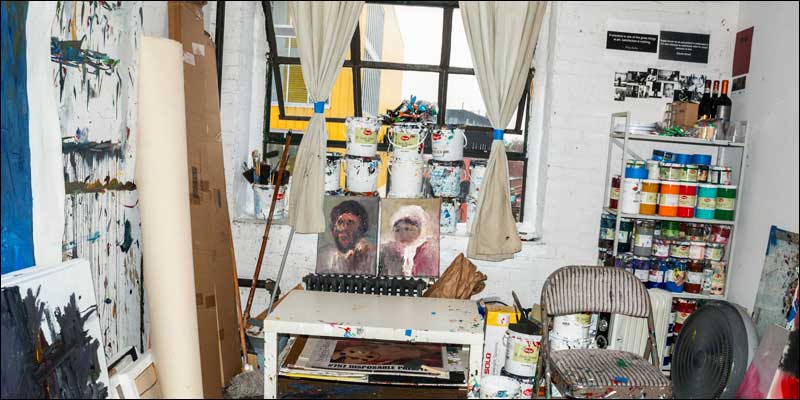
In a new project folder, make sure you have one or more images available. I’ve got food image named food.jpg that I’ll use in the examples below.
Create a new NPM project
npm init -y
Install Sharp
npm install sharp
Let the fun begin!
How to use Sharp
In order to run an operation on an image, we call sharp() and pass along the path of the image in question. In my case, the image is in the same folder, so I’ll just write sharp(‘food.jpg’). Next, we chain the methods we want, e.g. to turn the image into a PNG file, we’d run sharp(‘food.jpg’).png().
There are a number of options regarding the output. .toFile(‘filename.jpg’) will create a new file with the provided name, while .toBuffer() will write to a buffer.
So to turn our JPG file into a PNG file, we could create an async function and use sharp within it, then output a little console log when done.
const sharp = require('sharp');

const toPng = async () => {
    await sharp('food.jpg').png().toFile('food_to_png.png');
    console.log('Done');
};

toPng();
Grayscale
To convert an image to grayscale, use grayscale():
const sharp = require('sharp');

const grayscale = async () => {
    await sharp('food.jpg').grayscale().toFile('food_grayscale.jpg');
    console.log('Done');
};

grayscale();
Tint
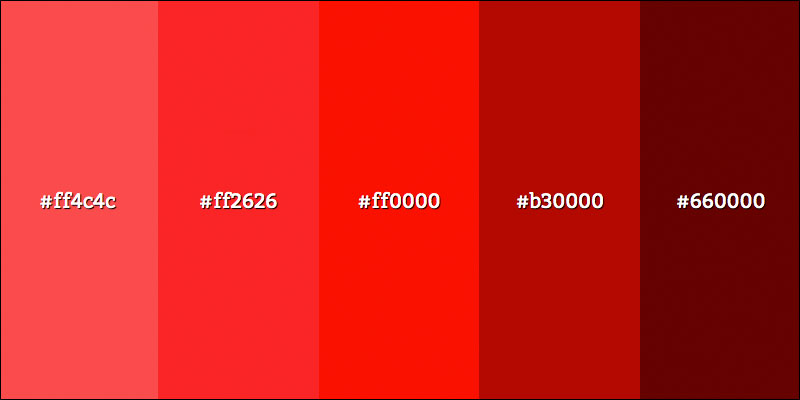
Tint an image by using tint() and pass in a color, in this example we pass in a red RGB color:
const sharp = require('sharp');

const tint = async () => {
    sharp('food.jpg').tint({ r: 245, g: 64, b: 41 }).toFile('food_red_tint.jpg');
    console.log('Done');
};

tint();
Resize
To resize an image, use resize() with and pass in an options object with the new size. If you set only a width or only a height, the image will resize proportionally. Example:
const sharp = require('sharp');

const resize = async () => {
    sharp('food.jpg').resize({ width: 300 }).toFile('food_resized_w300.jpg');
    console.log('Done');
};

resize();
You can of course provide both a width and a height and the image will be resized accordingly, but not necessarily proportionally.
const sharp = require('sharp');

const resize = async () => {
    sharp('food.jpg').resize({ width: 400, height: 200, fit: 'contain' }).toFile('food_resized_400x200.jpg');
    console.log('Done');
};

resize();
There are a number of clever options to handle different scenarios, I suggest you check them out here.
Change file format and set quality
In the example below I change the file format from JPG to PNG using .png(). .jpeg(), .webp(), .avif() and .gif() are also available, among others. In the options object you can also set the quality, and thus the file size, of the output file. It should be an integer between 1 and 100.
const sharp = require('sharp');

const toPng = async () => {
    await sharp('food.jpg').png({ quality: 80 }).toFile('food_to_png.png');
    console.log('Done');
};

toPng();
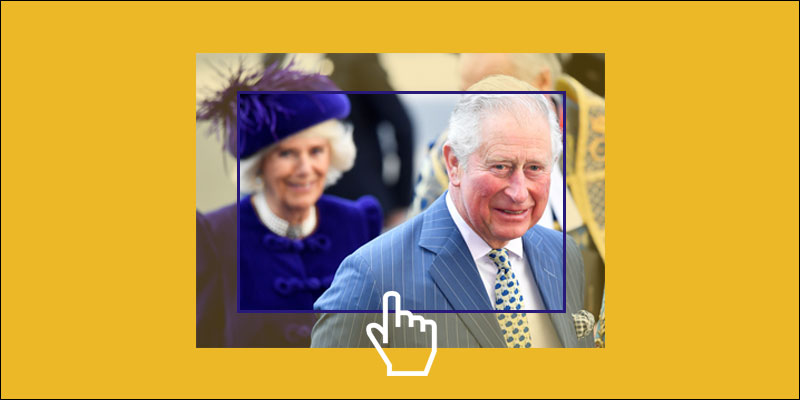
Crop
Crop an image by calling extract(). Set the width and height of the area of the image you wish to extract. You can also set where this area should be positioned in relation to the source image. In the example below we start at 50 px from the top and 250 px from the left.
const sharp = require('sharp');

const crop = async () => {
    sharp('food.jpg').extract({ width: 800, height: 400, top: 50, left: 250 }).toFile('food_cropped.jpg');
    console.log('Done');
};

crop();
We have only scratched the surface here, so for more info check out the docs. Another thing I find interesting and useful is that you can mess around with the EXIF data.
Share this article